
Here at Teach Starter, we’re pretty fond of origami, and for good reason. Did you know origami can help students develop spatial and perception skills? Not to mention, paper art is good for building dexterity and hand-eye coordination in kids. Not a bad reason to try out making origami cubes with your students, huh?
We’ve even done the hard part for you — coming up with step-by-step instructions on how to make an origami cube, including photos. A video demonstration of how to make this origami cube is also available to all of our Teach Starter members with a premium subscription.
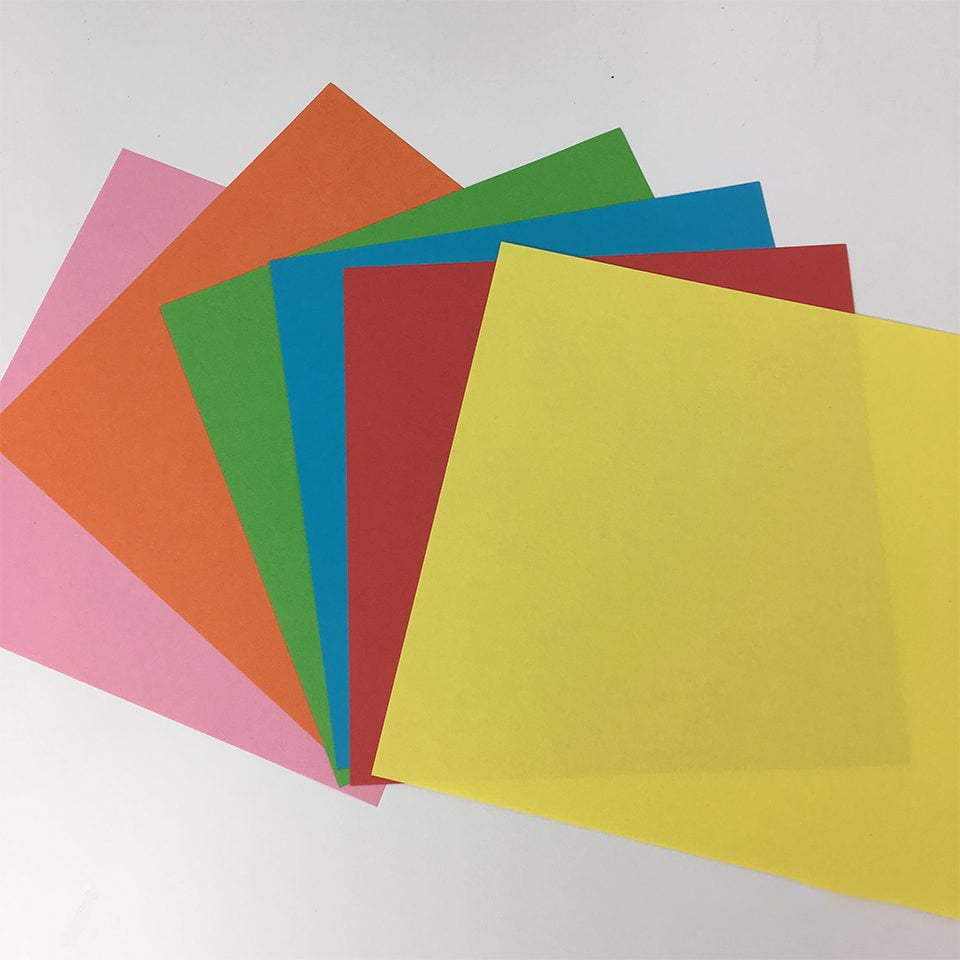
Step 1: Gather Materials
You will need 6 origami sheets. I used 6 inch by 6 inch origami sheets.
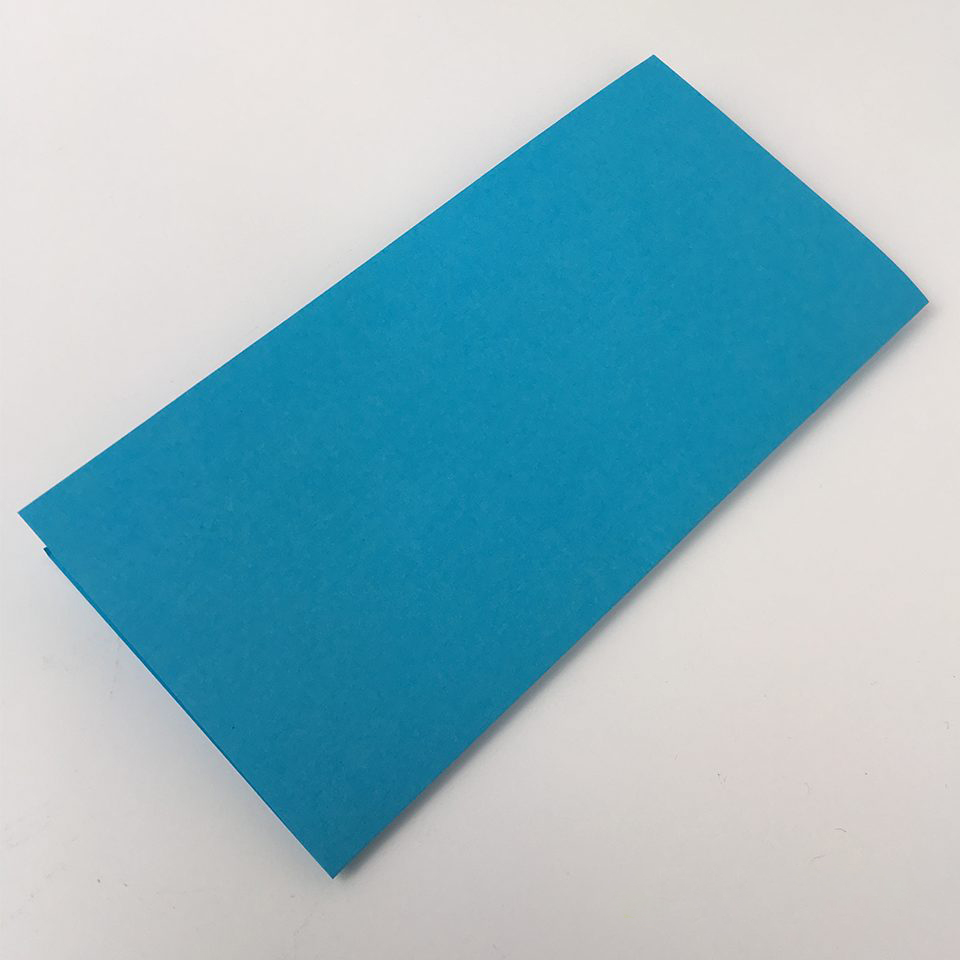
Step 2: Fold Your First Piece of Paper
Take your first piece of paper, and fold it in half. You can use any color to start — you’re going to go through the same process with each sheet, so just pick your favorite!
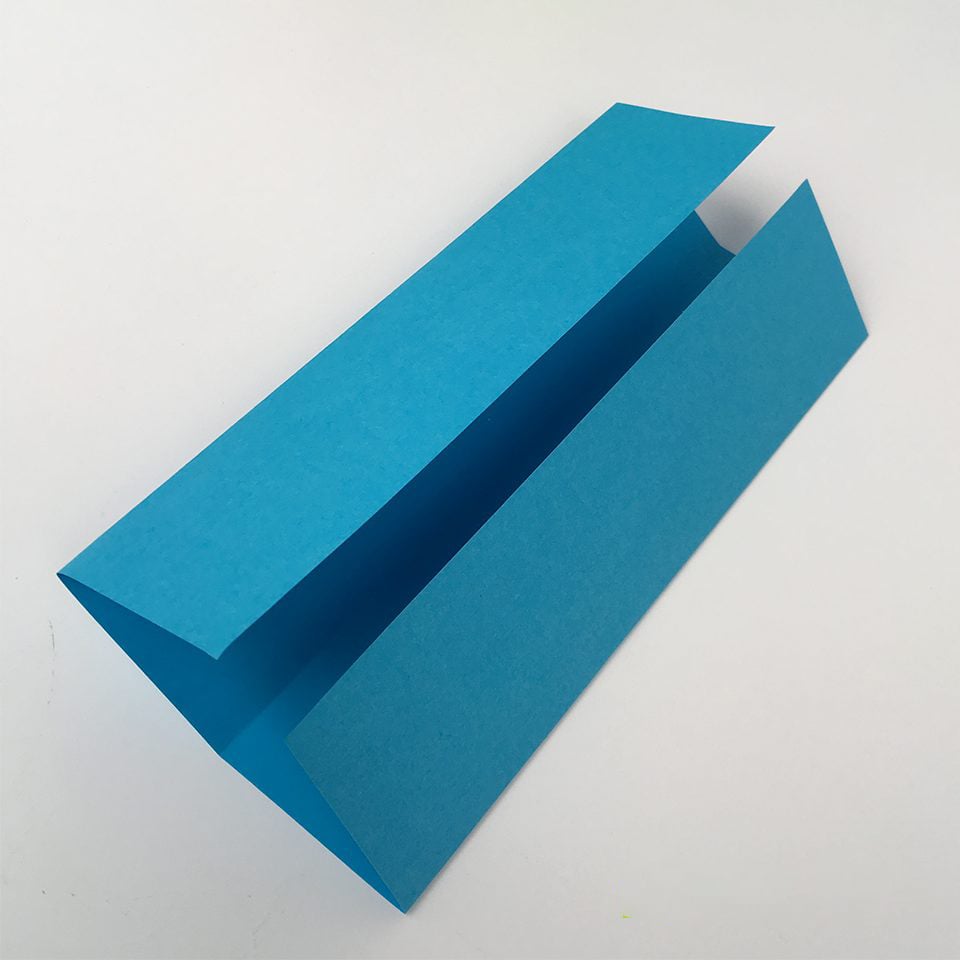
Step 3:
Unfold the piece of paper. Yes, we know. We just told you to fold it. But bear with us! Origami is a great exploration of direction following!
Then, fold each edge to the middle where the fold mark is from the second step.
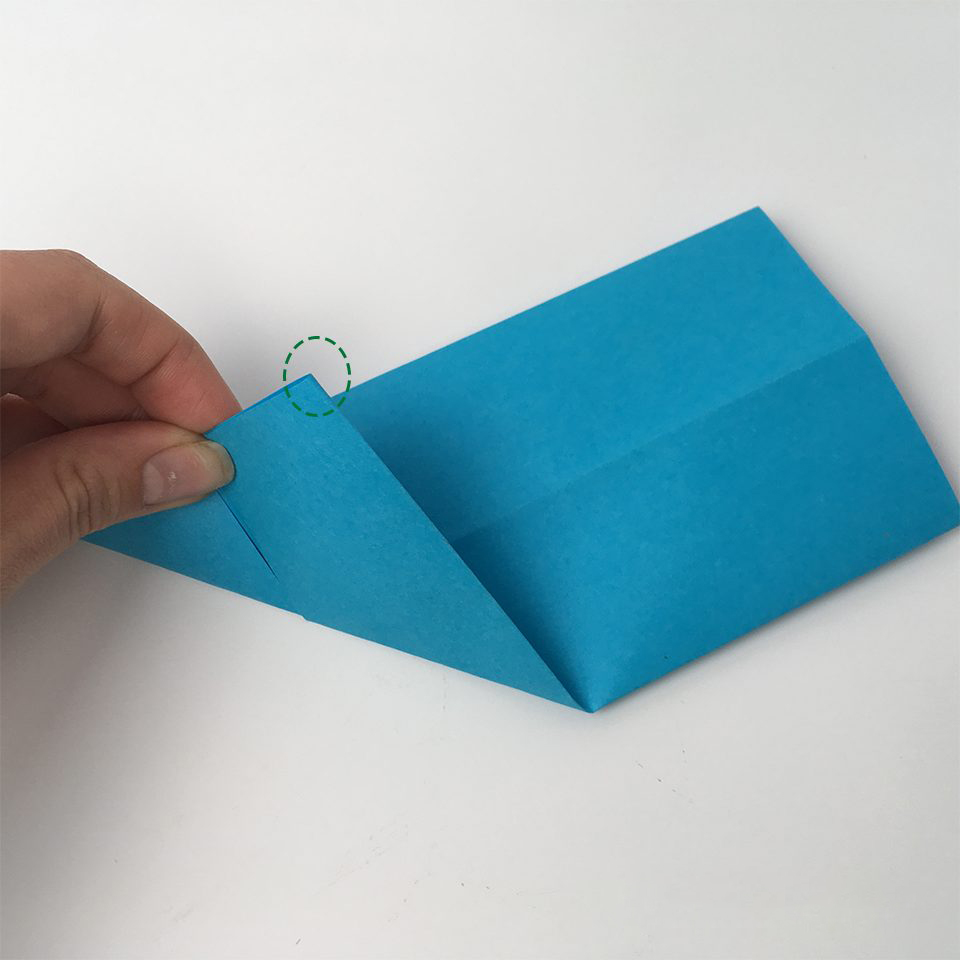
Step 4:
Turn the piece of paper over so that the paper flaps are face down on the table. Then, fold one corner up to the opposite edge.
Step 5:
Repeat the process with the opposite end of your paper.
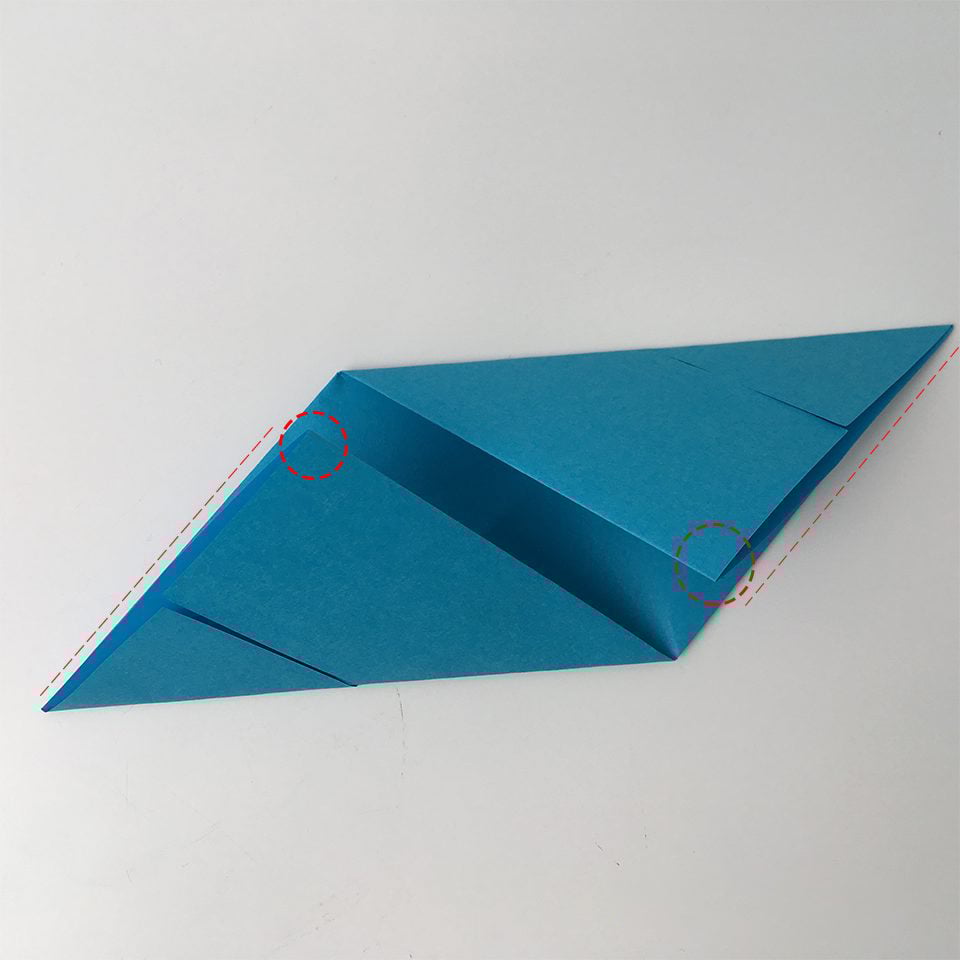
Step 6:
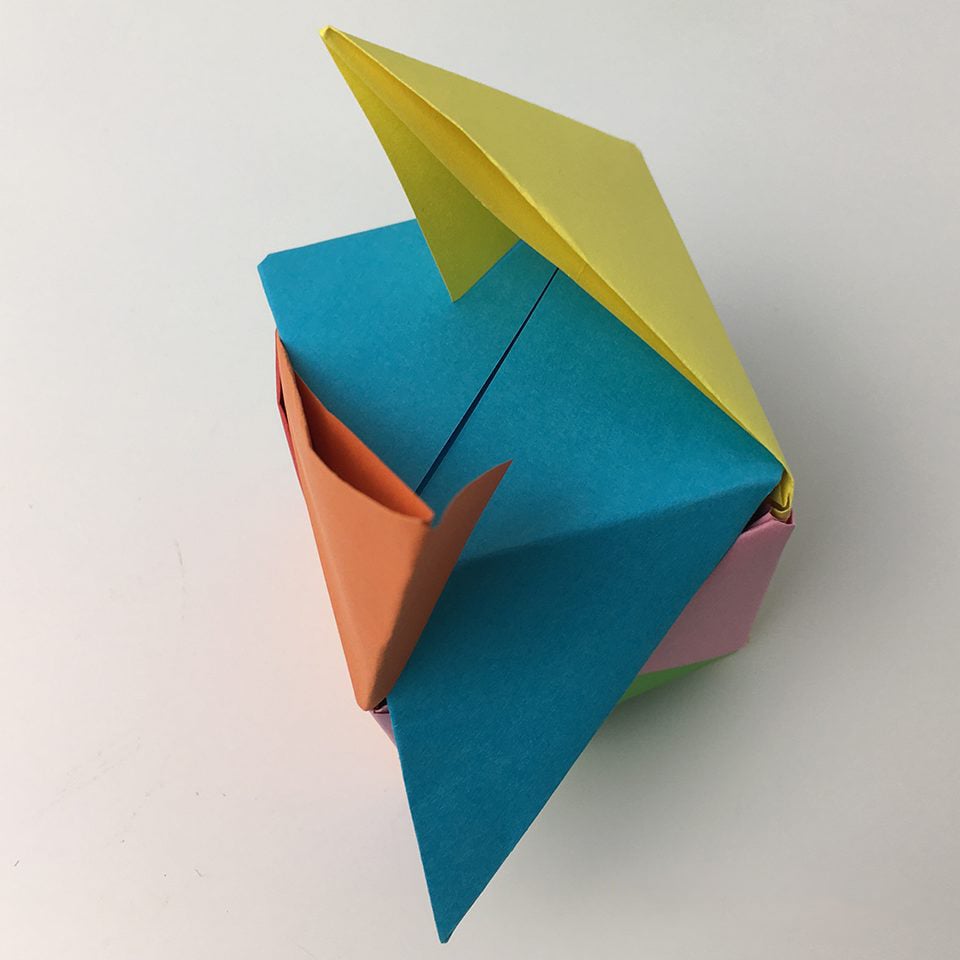
You will now need to do the same thing with the current corners.
This is a tricky step to explain. If your piece of paper doesn’t look like the picture below, watch the video again — we hope it helps!
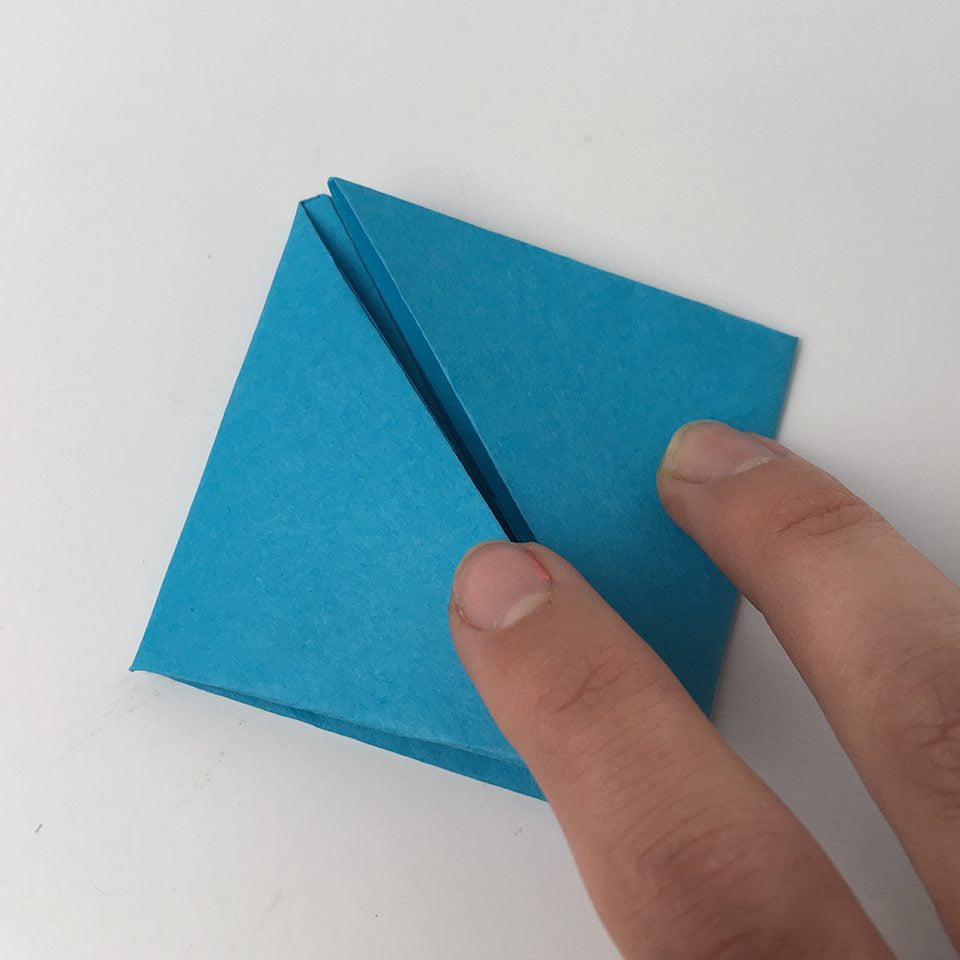
Step 7:
You are done with your first piece of paper — that’s one sixth of your origami cube! Now it’s time to repeat the first steps again with each of your five other pieces of origami paper. Each piece of paper should be just a little bit easier.
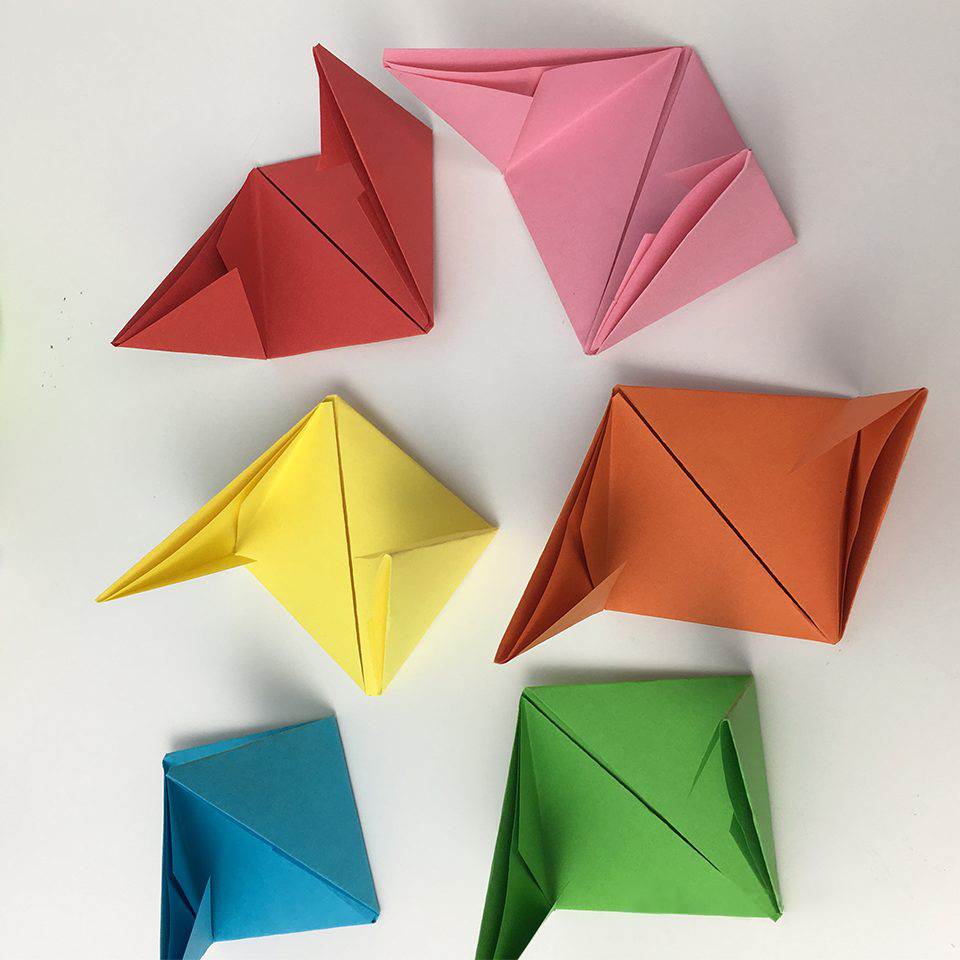
Step 8:
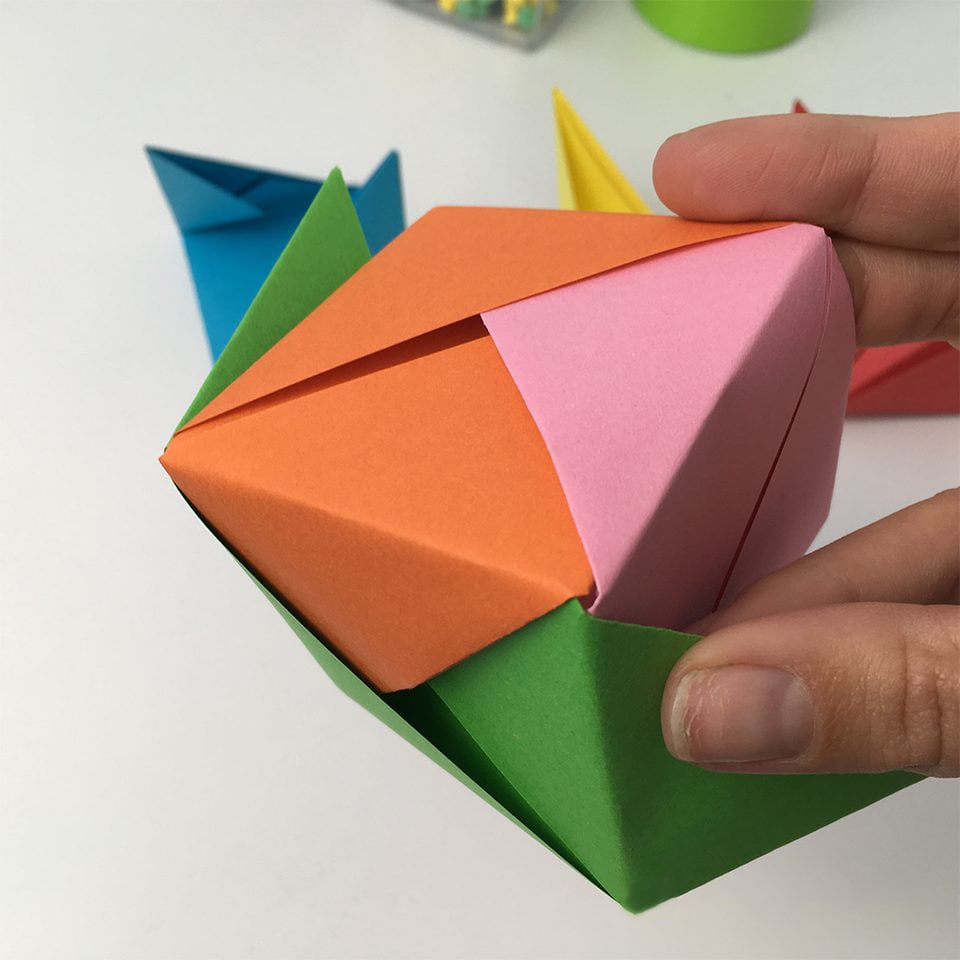
Now comes the fun part! You need to put each of the pieces together just like a jigsaw puzzle to form your origami cube.
This can be a bit tricky. Start with two pieces.
Put one corner of one piece into the square part of another piece.
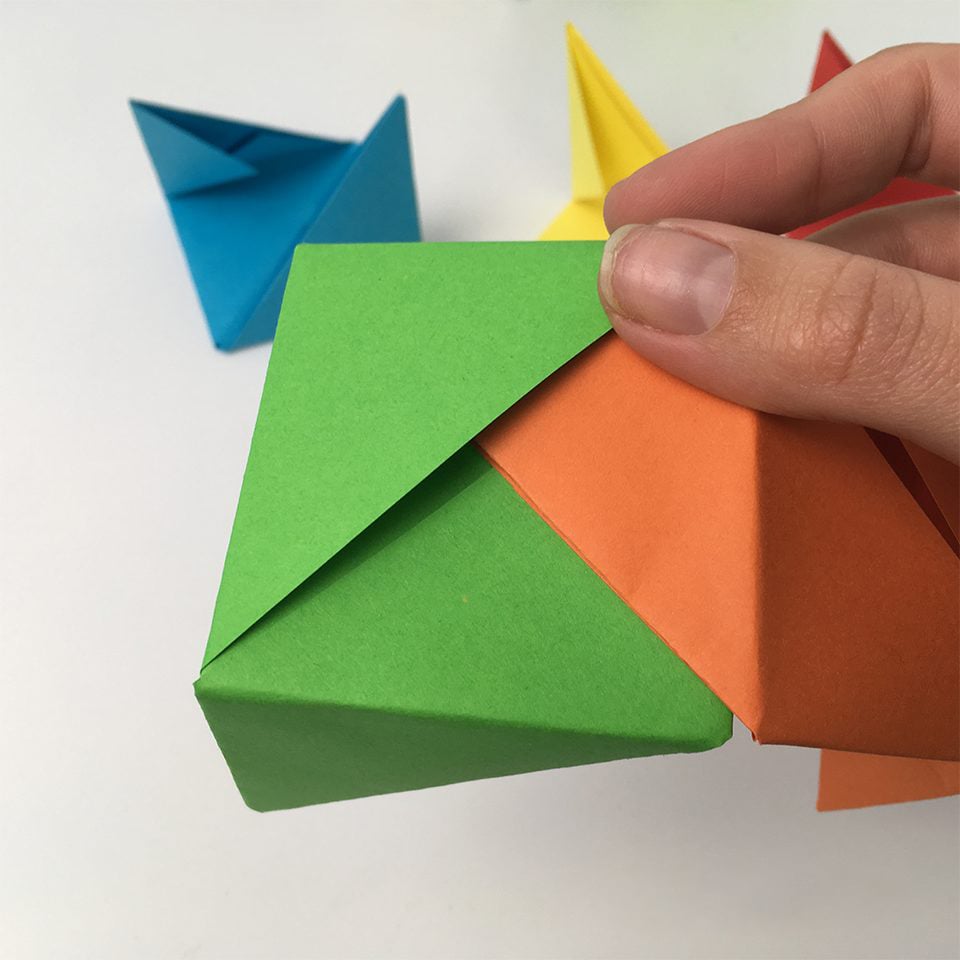
Step 9:
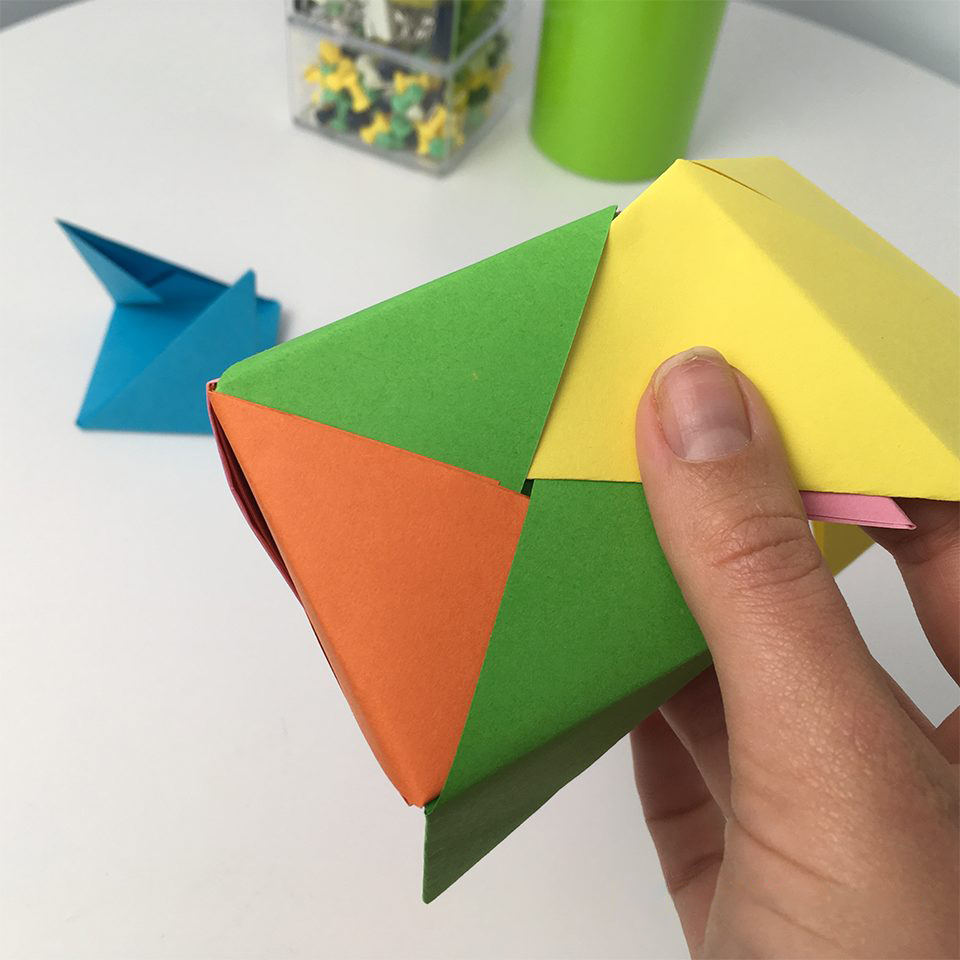
Grab another piece of origami paper, and repeat step 8. It will start to become evident how it all slots together.
The picture below shows how one side of the cube will look.
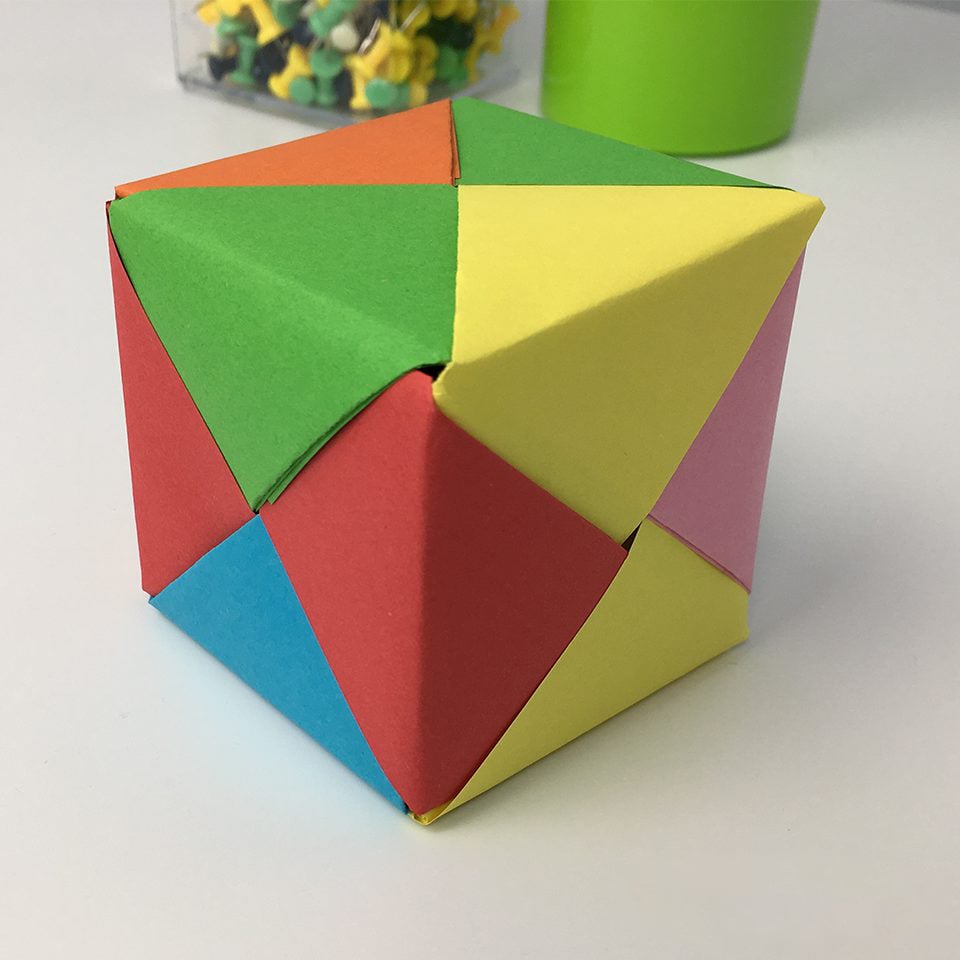
Don’t let any of the square parts of each side overlap the corner parts of the other pieces.
All done!!!
If I can do it…anyone can do it. Enjoy!


Comments