Christmas 2024 Teaching Resources
Download teacher-created Christmas activities for your classroom — from Christmas coloring pages to Santa worksheets to beautifully designed Christmas classroom decorations and printable holiday craft templates! Get a jump start on your activity planning and decorating with ready-made resources created by teachers for teachers like you.
Every resource in this collection is available for download, and each has undergone a rigorous review by the teachers on the Teach Starter team to ensure they’re student-ready.
Looking for some ideas to get Christmas ready in the classroom? Read on for some tip from our teacher team!
When Is Christmas 2024?
You probably don't need us to tell you that Christmas is celebrated on December 25 every year — but how will this affect the school calendar? In 2023, the federal holiday will be Wednesday, December 25.
Basically, that means the last day of school could be as late as December 24 this year — that's the Tuesday before Christmas. Of course, the last day before winter break varies by school.
What Should I Do for Christmas in School?
Celebrating the December holiday in the classroom this year, but not sure where to get started? The teachers on the Teach Starter team have got you covered with fun Christmas activities for your classroom! Give any of these a try:
- Take a photo of each student, and have students create photo frames to take home to parents, guardians, or someone special this holiday.
- Set up a holiday photo booth for some fun in the classroom (the photos can be used in the gifts for their loved ones)!
- Partner with another class to buddy up and make gingerbread houses together out of graham crackers.
- Practice writing letters with a holiday card writing assignment or — for the younger kids — a Santa letter writing assignment.
- Challenge your students to 12 days of kindness in honor of the holiday season.
- Learn about other cultural celebrations of Christmas from around the world.
How to Decorate a Classroom for Christmas
Decorating your classroom for Christmas and need some ideas? We have you covered there too! Try these options:
- Decorate your classroom door with a Christmas theme.
- Set up a fake tree or a live tree, and have students add ornaments that they decorate themselves. At the end of December, students can collect their ornaments to take home to their parents or guardians as gifts.
- Set up a Christmas bulletin board or a winter bulletin board that you can keep up into January (and beyond).
- Create paper gingerbread houses with your students to bring the festive feel into the classroom – but keep hungry critters out!
- Craft Christmas poinsettias that will liven the room up and bring a bright feel even if you've got dreary winter weather outside.
Celebrating Christmas in the Classroom — A Few Teacher Tips
Before holding any Christmas-related celebrations in the classroom, you may want to check the rules in your district and/or school building as well as considering the different types of kids in your classroom.
Incorporating holiday fun … that’s simple … can be a good way to keep your December a bit more even-keeled. And hey, no one ever said that your holiday classroom activities couldn’t be educational and incorporated into your regular routines.
We’ve put together a huge mix of printable Christmas craft templates that are fun and educational too. In addition to the many Christmas worksheets and activities, we have an entire collection of general winter resources for teachers to use to be inclusive of children from all backgrounds.
- Free Plan
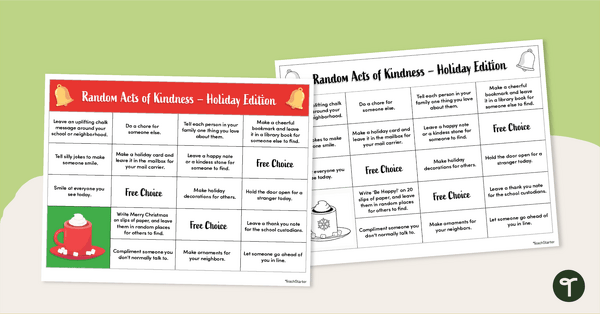
Random Acts of Kindness - Holiday Edition
Inspire Random Acts of Kindness this holiday season with a printable Christmas Kindness Calendar.
- Plus Plan
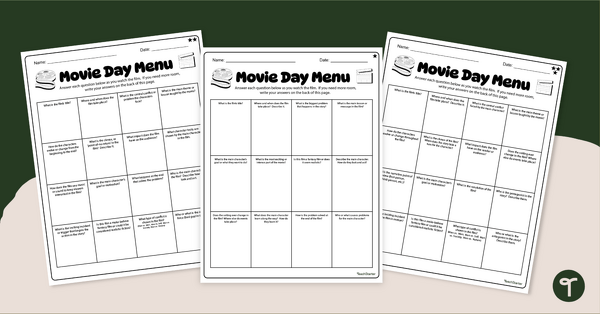
Movie Day Activity Menu
Turn a movie day into a learning experience with our printable Movie Day Comprehension menu.
- Free Plan
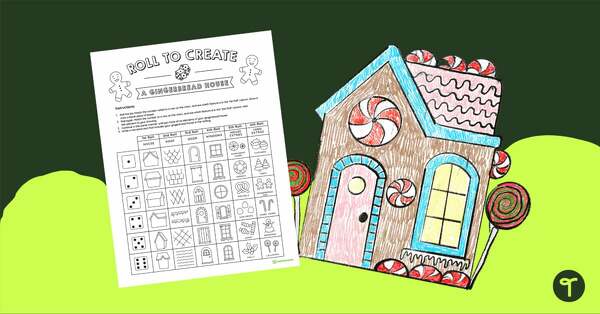
Roll to Create a Gingerbread House
Have some Christmas fun without the mess with a Roll-to-Create Gingerbread House Art activity.
- Free Plan
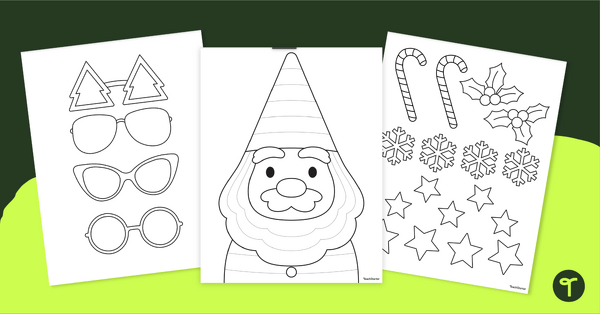
Funky Christmas Gnome Craft Template
Get ready for Christmas with this popular gnome craft featuring a customizable Zentangle Pattern Christmas Gnome with funky glasses and holiday accessories.
- Free Plan
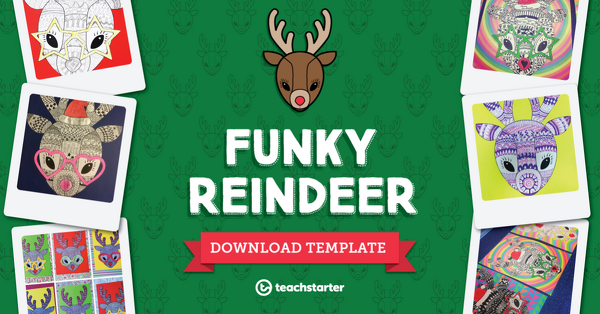
Funky Reindeer Craft Template
Download the famous Teach Starter funky reindeer template! This Christmas craft activity is perfect for practicing Zentangle patterns.
- Plus Plan
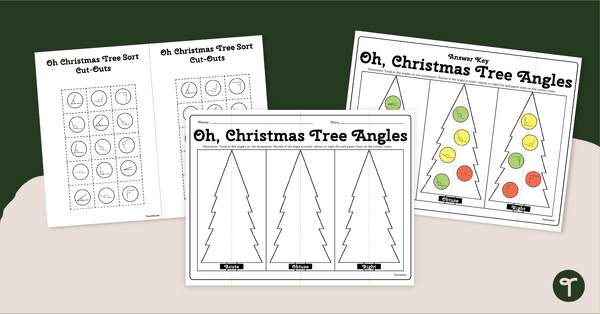
Christmas Angles Worksheet for 4th Grade
Identify acute, obtuse, and right angles with a Christmas Angle Worksheet for 4th Grade.
- Plus Plan
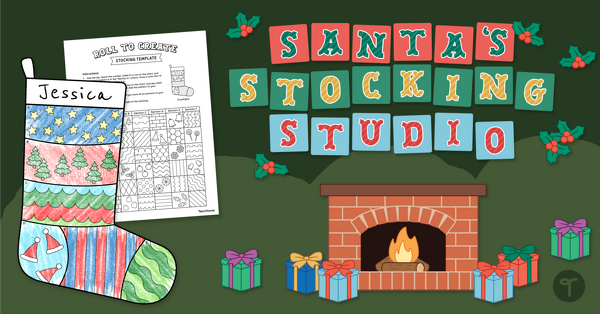
Christmas Bulletin Board and Printable Stocking Template
Stock up on Christmas cheer with a printable Christmas stocking template and DIY Christmas bulletin board display.
- Plus Plan
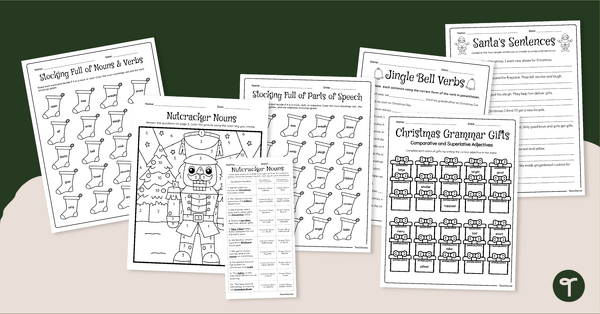
3rd Grade English Worksheets - Christmas Printables
Add some Christmas spirit to your December grammar lessons with a printable pack of Christmas-themed 3rd-grade English worksheets.
- Plus Plan
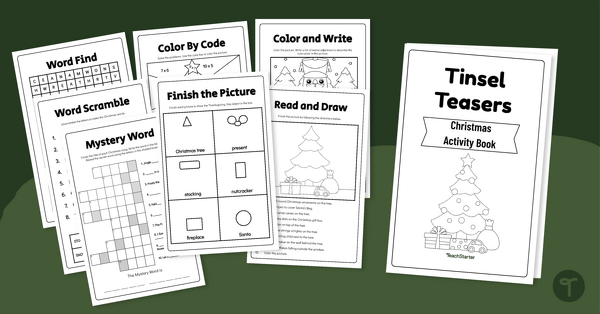
Christmas Activity Sheets Workbook
Have a blast completing the fun activities in this printable Christmas activity book for upper grades.
- Free Plan

Jingle Jumble - Free Christmas Search-a-Word
Use this free holiday word search to build vocabulary and spelling skills in your classroom this Christmas season.
- Plus Plan
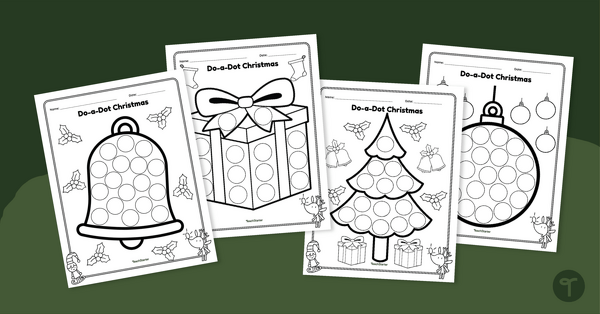
Do-a-Dot Christmas Worksheets for Preschool
Do a dot painting with printable Christmas worksheets for preschool and kindergarten
- Plus Plan
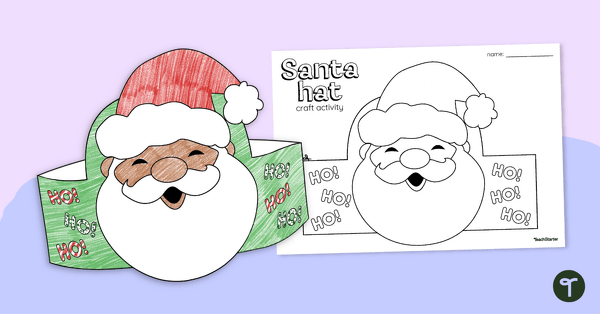
Christmas Crown - Santa Hat Template
Create a fun paper Christmas crown with a printable Santa hat template for kids.
- Free Plan
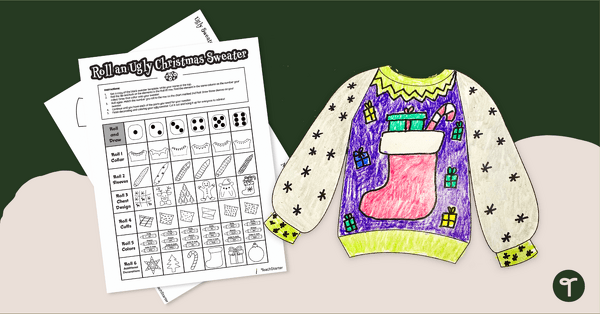
Ugly Christmas Sweater - Dice Drawing Game
Roll your way to the perfect ugly Christmas sweater with a printable Christmas dice game.
- Free Plan
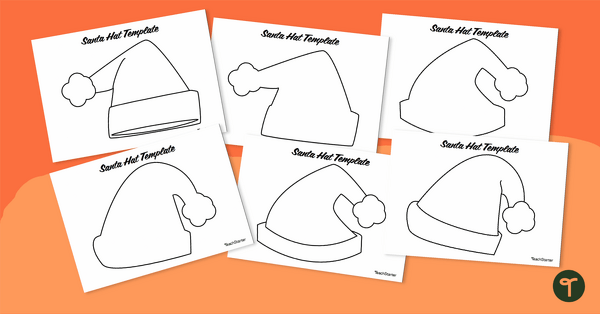
Santa Hat Templates
Create easy Christmas crafts with a set of printable Santa Hat outlines.
- Free Plan
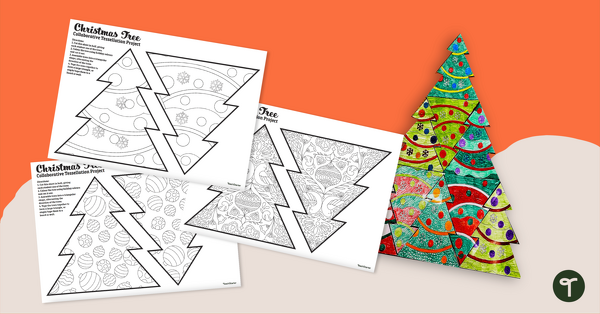
Tessellation Christmas Tree - Printable Project
Engage your students in the weeks before Christmas with a collaborative Christmas Tree Tessellation project.
- Plus Plan
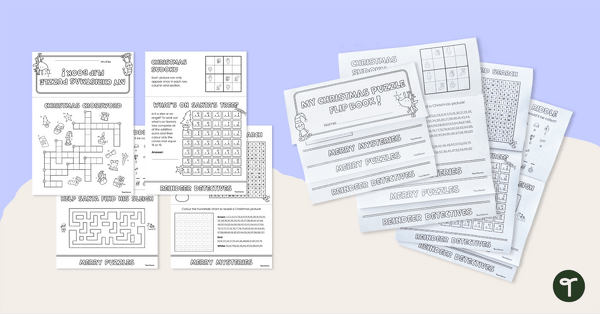
Holiday Flip Book - Christmas Printable Activities
Get busy with this engaging printable Christmas activity flip book.
- Plus Plan
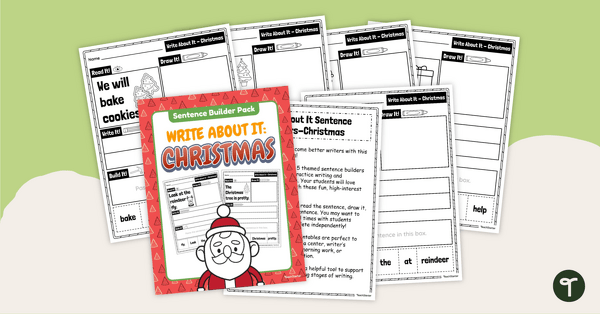
Write About It! Christmas Sentence Builder Pack
Write around the Christmas tree with a group of Christmas sentence building worksheets for beginning writers.
- Plus Plan
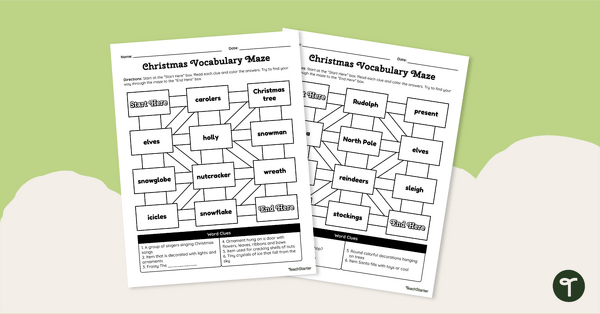
Christmas Maze Printables - Holiday Vocabulary
Boost vocabulary skills and bring some Christmas spirit to your classroom with a pair of printable Christmas vocabulary worksheets!
- Plus Plan
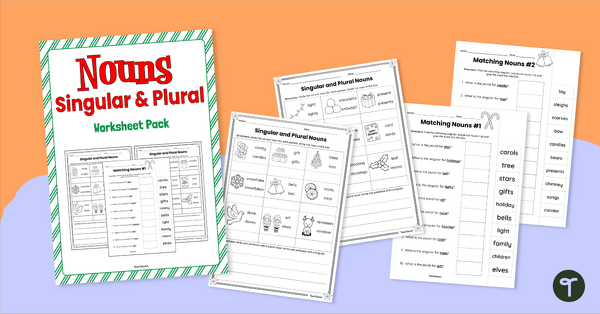
Christmas Singular and Plural Noun Worksheets
Review plural noun rules and add some holiday fun to your Language Arts lessons with a set of printable plural and singular noun worksheets.
- Plus Plan
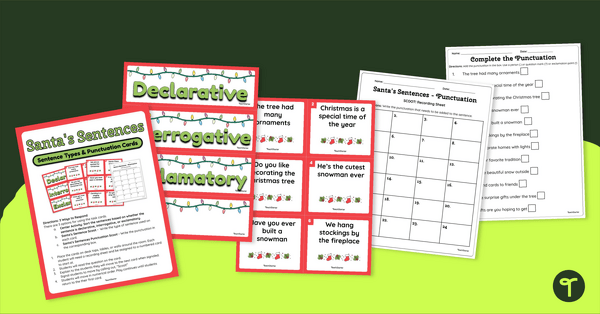
1st Grade Punctuation - Christmas Task Cards
Use these 1st Grade Punctuation activity cards to practice using ending punctuation and identifying declarative, interrogative, and exclamatory sentences.
- Plus Plan
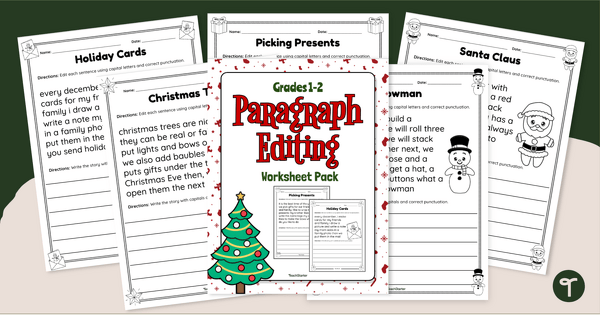
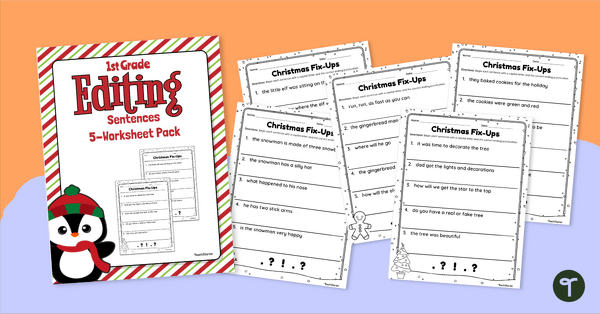
2nd Grade Language Arts Worksheets - Christmas Editing Practice
Practice correcting capitalization and punctuation errors with a set of Printable Christmas Editing worksheets for 1st and 2nd Grade.
- Plus Plan

Christmas Writing Center - Types of Sentences for 2nd Grade
Help your students answer “What Type of Sentence Is This?’ with a printable Christmas sorting activity on the 4 types of sentences.
- Plus Plan
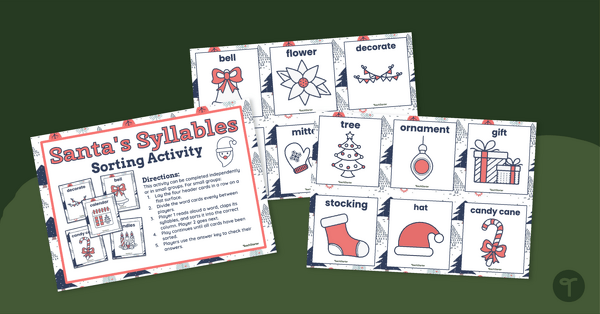
Santa's Syllable Sort - Christmas Reading Center
Help students practice breaking words into syllables with a Christmas literacy center.
- Plus Plan
Christmas Sentence Correction Worksheets
Edit and correct capitalization and punctuation errors with a set of Christmas Fix the Sentence worksheets.
- Christmas 2024 Templates
- Christmas 2024 Worksheets
- Christmas 2024 Craft Activities
- Christmas 2024 Games
- Christmas 2024 Puzzles
- Christmas 2024 Coloring Pages
- Christmas 2024 Labels Signs Decorations
- Christmas 2024 Mini Book
- Christmas 2024 Task Cards
- Christmas 2024 Color by Code
- Christmas 2024 Interactive Activities
- Christmas 2024 Dice Games
- Christmas 2024 Printable Card Templates
- Christmas 2024 Escape Room Games
- Christmas 2024 Bulletin Board Displays
- Christmas 2024 Writing Templates
- Christmas 2024 Active Games
- Christmas 2024 Logic Puzzles
- Christmas 2024 Word Searches
- Christmas 2024 Projects
- Christmas 2024 Sorting Activities
- Christmas 2024 Classroom Door Decorations
- Christmas 2024 Cut and Paste Worksheets
- Christmas 2024 Mazes
- Christmas 2024 Board Games
- Christmas 2024 Matchup Games
- Christmas 2024 Posters
- Christmas 2024 Card Games
- Christmas 2024 Crossword Puzzles
- Christmas 2024 Bingo
- Christmas 2024 Tarsia Puzzles
- Christmas 2024 Bookmarks
- Christmas 2024 Tracing Worksheets
- Christmas 2024 Instructional Slide Decks
- Christmas 2024 Connect the Dots
- Christmas 2024 Word Walls
- Christmas 2024 Flipbooks
- Christmas 2024 for Pre-K
- Christmas 2024 for Kindergarten
- Christmas 2024 for 1st Grade
- Christmas 2024 for 2nd Grade
- Christmas 2024 for 3rd Grade
- Christmas 2024 for 4th Grade
- Christmas 2024 for 5th Grade
- Christmas 2024 for 6th Grade
- Christmas 2024 for 7th Grade